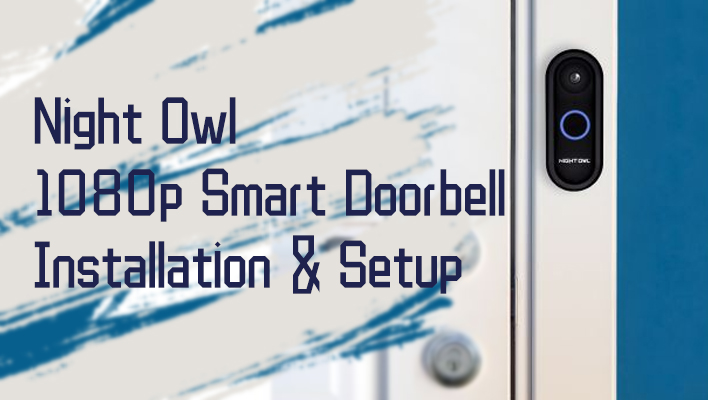
Night Owl 1080p Smart Doorbell Installation & Setup
The obvious choice when looking for a smart replacement for your existing doorbell system is to find a wired smart doorbell, and Night Owl smart doorbell is a nice option, it has a 1080p video camera and it’s pretty affordable too.
However, you probably never installed a smart doorbell before, here’s what you need to know about the Night Owl doorbell’s installation and you will see how to set it up quickly with your smartphone.
How to Set up Night Owl Wired Smart Doorbell?
What do you need to prepare?
- A USB power adapter
- Decent 2.4GHz WiFi signal
- A smartphone
- Remove the faceplate from the doorbell by pushing the doorbell down.
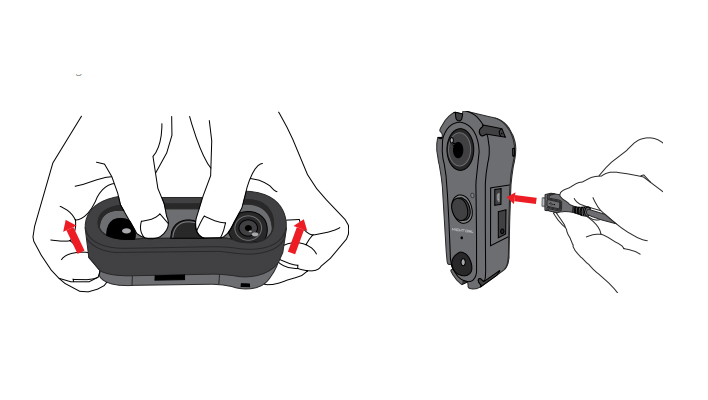
- Remove the tiny cover of the USB input on the side, plug the included USB cable into the USB port. (Be careful with the USB cover, we are going to put it back on later)

- Connect the USB cable to your power adapter, and make sure the power is on.
- The doorbell will flash blue, wait until you hear the doorbell say “doorbell is ready for use, doorbell is in pairing mode” (The process can take a few minutes)
- In pairing mode, the light will turn white and it will start spinning.
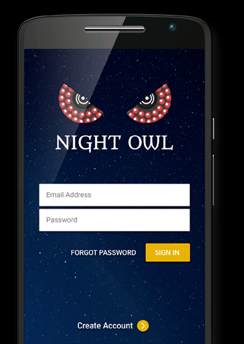
Download the Night Owl Connect App on App Store or Google Play
- Create a new Night Owl Connect account and sign in
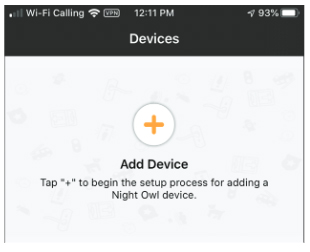
- Click the “+” symbol to add device
- Select Doorbell and confirm network requirements
- Click Next to start the pairing process
- Select your WiFi and enter the WiFi password
- The App will start connecting to the Night Owl doorbell
- Wait until you see the App shows “Woohoo! Setup is now completed”
- Enter the name of your Night Owl doorbell and lick COMPLETE SETUP
Now you should see your doorbell camera through the app
Unplug the USB cable and put the USB cover back on
How to Install Night Owl 1080p Smart Doorbell with Existing Wires
What do you need?
- A drill
- A pencil
IMPORTANT!: Turn off the power at the breaker before installing the doorbell
- Remove your old doorbell button.
- Mark positions of holes with included the mounting template and a pencil.
- Install the included flat mounting plate or angled plate with the screws and the Phillips screwdriver. (See differences between the flat mounting plate and angled mounting plate)
- Loosen screws on the back of the Night Owl doorbell, and wrap your existing wires around the screws, and tighten the screws.
- Attach the doorbell to the mounting plate and tighten the screw at the bottom to secure the doorbell.
- Place the faceplate over the doorbell and tighten the security screws at the bottom with a security screw to fix the faceplate.
- Turn the power back on
What You Need to Know about Night Owl Doorbell Installation
Flat Mounting Plate vs Angled Mounting Plate
Unlike the flat mounting plate that only allows you to see the front through the camera, the angled mounting plate has the ability to change the direction of the doorbell camera, giving your flexible viewing angle. You can have a wider viewing angle when the angle points away from the door.
What Does the Digital Chime Power Amp Do?
If you are using a digital chime, your doorbell might not be to make the chime ring or make your chime ring endlessly. The digital chime power amp is designed for this. The digital chime power amp is installed on your existing chime, and you can see how to do it on their product page.